
Short answer
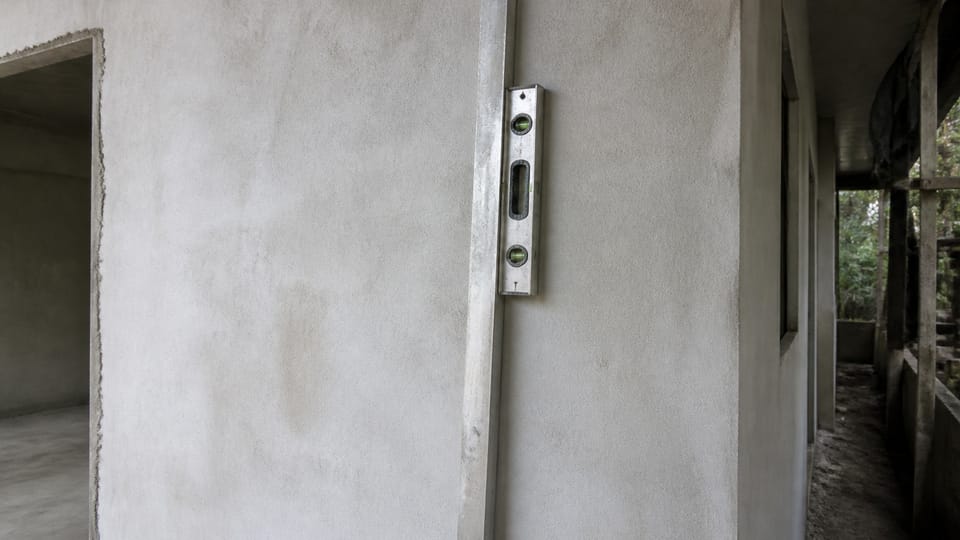
How do I check plastering work on my site? Tap the wall and mark any hollow, dull patch, since it may have lost its bond. Lay a straight edge and a spirit level across the finish and check the corners with a plumb bob. Look at the junctions, corners and curing. Ask the mason to find the cause before any patch is redone. The tolerance and the mix are set by your project specification and the standard, not by this checklist.
On this page (10)
Plaster is easy to apply badly and hard to see when it is wrong. A wall can look flat and still be loose behind, or be true to the eye and crack within a year. This checklist gives the owner’s checks on a finished or nearly finished wall, and the clause in IS 1661 behind each one. It gives no tolerance, no thickness, no mix and no curing period. Those figures are in your project specification and the standard, and your engineer or mason sets them for your house.
For the steps the mason follows, see the companion guide on how to plaster a wall, once it is published. This page is the check to do after the work is done.
Why does a hollow patch matter?
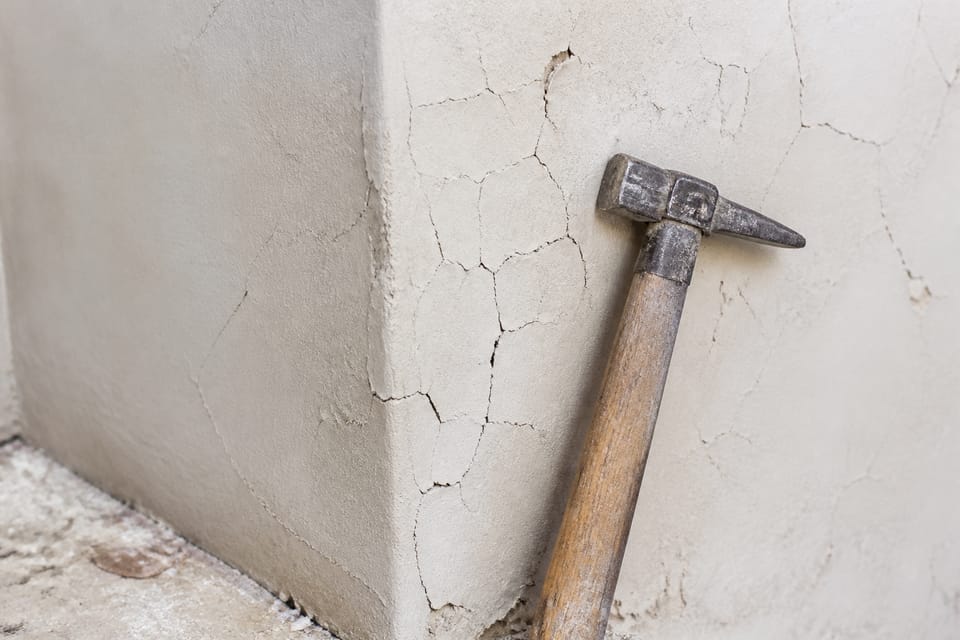
IS 1661 says that loss of bond “according to its severity, results in ‘hollow’ patches, flaking of top coats, or peeling of substantial areas.” It also says that moisture must be kept out, “as otherwise peeling will eventually occur” (clause 18.2.2). A patch that sounds hollow is not harmless. It is plaster that has come away from the wall.
What checks can I do myself?
| Check | How to do it | Basis |
|---|---|---|
| Tap test | Walk the wall with the knuckles or the handle of a light tool, listening for a dull sound. Mark each dull area in chalk | IS 1661 clause 18.2.2 (bond failure gives hollow patches); CPWD 2009 clause 13.1.8 (portions that sound hollow when tapped are cut out in rectangular shape and redone) |
| Straight edge | Lay a straight edge against the finish at several heights and across its length. Note any gap | IS 1661 clause 15.1 (trueness of the finish); the number is in the standard, not here |
| Plumb | Hang a plumb bob against a vertical corner or door jamb | IS 1630 clause 6.1 (plumb bob for checking a wall face) |
| Level | Set a spirit level on horizontal lines and sills | IS 1630 clause 6.3 (spirit levels conform to IS 5706); IS 1661 gives no level-check method |
| Powder | Rub the surface with a finger. Powder on the hand means the plaster is not sound | IS 1661 clause 7.7.1(d) (plaster dried out in hot dry conditions before setting can be powdery) |
| Flaking and peeling | Look for scaling patches or large sheets lifting from the wall | IS 1661 clauses 2.4.5 and 2.4.7 |
| Blisters, pops and salt | Look for swellings, small conical holes, and white salt deposits | IS 1661 clauses 2.4.1, 2.4.4 and 2.4.8 |
| Joining marks | Look for joins or lines where one area of the finish meets another | IS 1661 clause 14.1 (where possible, textures are applied from top to bottom in one operation, to avoid joining marks) |
The tap test is the first check to do. A wall that sounds even all over is more likely to be bonded than one with dull patches. Any dull area is a reason to ask the mason to look.
What should I check at the corners, edges and junctions?
- Corners and edges. IS 1661 says that where corners and edges are rounded off, the rounding is completed with the finishing coat “to prevent any joint marks showing out later” (clause 10.8). Check that the corners are finished in one coat, not patched afterwards. The specification says whether they are sharp or rounded.
- Frames and pipes. Plastering should not start until door and window frames and pipes or conduits in the wall are fixed (clause 9.3). Check the joins at frames for neat finishing.
- Junctions of different materials. Where plaster meets a column, a beam or a block of a different material, the standard notes that cracks often come from the join, largely because of differential shrinkage between the materials (clause 12.1.7). The best treatment, the standard says, may be a neat cut through the plaster at the junction, which can be masked with a cover strip. Reinforcing the join with metal lathing or scrim is “not always successful” (clause 12.1.7).
What about the finish and the curing?
The finish should be even and free of powder, flaking and open cracks. If plaster dries out too fast in hot dry conditions, it can be powdery and will not bond to the next coat (clause 7.7.1(d)).
IS 1661 says each coat is kept damp until the next coat goes on, and the finish is kept wet for a set period, protected from extremes of temperature and weather (clauses 16.1 and 16.2). Ask the mason how the wall was wetted. The curing period and method are on the curing page.
What about cracks?
Cracks in plaster have many causes, and the first question is whether the crack is in the plaster or in the wall behind it.
- Cracks in the finish can come from movement in the background or the surrounding structure, from shrinkage in undercoats, or from unsuitable sand (clause 18.2.3). The hairline cracks page explains which cracks are usually harmless and how to mark and monitor them.
- The standard says plaster cracks near a structural crack are not structural failure “unless they are in conformity with the structural crack” (clause 2.4.2 note). A large crack that runs through all the coats and into the wall behind is a reason to ask a structural engineer, The standard also says plastered ceilings may crack because the ceiling construction permits excessive deflection, and that no plaster repair could be expected to be effective in preventing it (clause 18.1.1).
- Moisture is a common cause of defects. IS 1661 says that patching or replastering an external wall is useless until the moisture penetrating it has been stopped (clause 18.1.1). If a patch is damp, salty or musty, check the damp walls page before repairing it.
What should I ask the mason?
- Who did the wall, and how was the background cleaned and wetted before plastering (clauses 12.1.1 and 12.1.2)?
- What is the mix and the thickness, in writing? Ask for them, and check them against the plaster quantity page.
- How will the hollow patches be dealt with? The standard says the cause must be determined before any repair, because unless it is dealt with, most defects will recur after repair (clause 17.1.1). The CPWD specification says portions that sound hollow when tapped are cut out and redone as the Engineer-in-Charge directs (clause 13.1.8).
- Who pays for the redoing? IS 1661 does not say. This is a contract question, so put it in writing.
- Was the wall kept damp during curing, and were mattings or wet sacks used on sunny or windward sides in hot dry weather (clause 16.1)?
What mistakes should I avoid?
These are practice points, not standard rules.
- Accepting a patch that sounds hollow. Ask why it is hollow before it is covered.
- Judging the wall by eye alone. A flat-looking wall can still be loose behind. Use the tap test.
- Covering a crack with paint or putty. Find the cause first.
- Painting over a damp or salty wall. The paint will fail.
- Accepting a rough corner. Check the corner while the mason is still on site.
- Using a number from a web page. Tolerances and mixes differ by source. Use your project specification and the standard.
Frequently asked questions
Is a hollow patch a problem if the wall looks fine?
Yes, it may be. A hollow patch means the plaster has lost its bond with the wall. It can lead to flaking or peeling if moisture gets in.
What is the tap test?
Tap the wall lightly with the knuckles or a light tool and listen. An even sound suggests the plaster is bonded; a dull sound suggests it may have come away. Mark the dull areas and ask the mason to look.
How flat should plaster be?
The standard sets a limit for the deviation when the finish is checked with a straight edge (clause 15.1). The number is not repeated here; your project specification and the standard decide it.
When should I call an engineer about a crack?
If a crack runs through all the coats, goes into the wall behind, or grows over time, ask a structural engineer to look at it.
Related guides
- Hairline cracks in plaster
- How long to cure plaster
- Plaster quantity: cement and sand per square foot
- Plastering terms: punning, screed, dubbing out, hacking and defects
This guide is general information. Read the disclaimer. Your engineer and your project specification decide the finish, the tolerance and the repair for your house.
Sources
- IS 1661:1972, Code of Practice for Application of Cement and Cement-lime Plaster Finishes (first revision; BIS listing current). Clauses 2.4, 3.1(c), 7.7.1(d), 9.3, 10.8, 12.1.1, 12.1.2, 12.1.7, 14.1, 15.1, 16.1, 16.2, 17.1.1, 18.1.1, 18.2.2, 18.2.3.
- IS 1630:1984, Specification of Mason's Tools for Plaster Work and Pointing Work (first revision; BIS listing current). Clauses 6.1 and 6.3 (plumb bob and spirit level).
- CPWD Specifications 2009, Volume II, Sub Head 13.0 Finishing, plaster clauses 13.1.7 and 13.1.8 (tap-test and cut-out wording; the current CPWD edition was not read).
Change log
- : Added Related guides link to newly published article(s): plastering-terms-explained-punning-screed-dubbing-out-hacking-spatterdash-and-defects. No other text changed. Approved by the reviewing engineer.
General information only. It is not a structural design or professional advice. Ask a licensed structural engineer or architect to check your plans and site.