
Short answer
Why do outside wall tiles fall off, and how should they be fixed? Tiles usually come off because the base is dusty or smooth, water gets behind them, the wall moves without movement joints, or the bed is badly laid. IS 4101 (Part 3) asks for a clean base, a bond check before tiling, a thin even bed and movement joints. The code is written for cement-sand bedding. Ask your engineer or mason to show each step before the wall is closed.
On this page (8)
Outside wall tiles are meant to last as long as the wall. When they fall off, the loss is costly and can hurt someone below. Most failures come from a few causes that are known and covered by Indian guidance. This page explains those causes, the steps that IS 4101 (Part 3) gives for fixing tiles to an outside wall, and what an owner can check. It gives no adhesive brands, no bond or pull-out values and no prices.
What does the code cover?
IS 4101 (Part 3) covers the fixing of wall tiles and mosaics on the outside of walls (clause 1.1). It is written for normal conditions, meaning the temperature and humidity of average climate (clause 0.3). The code’s method is for tiles fixed in a mortar bed. It notes that adhesive bedding, which is generally followed in foreign countries, has been included because such adhesives “are not generally used in this country” (clause 0.3). This page follows the code.
What makes outside tiles come off?
The code names several causes. Usually more than one is present at the same time.
| Cause | What the code says | Practice check (not a code rule) | Clause |
|---|---|---|---|
| Water gets behind the tiles | Once water has entered, it may affect the tile fixing and cause loss of adhesion. Frost action may also develop. | The joints are filled and without cracks. The wall is dry before tiling. | 5.2.3 |
| No room for movement | Movement from differences in strength and drying shrinkage of the base, and from settlement, sets up stresses that cause loss of adhesion and bulging. Movement joints can relieve this. | Movement joints are planned in the tiling, not added afterwards. | 5.4 |
| Heat | Excessive temperature changes can cause cracks and bulges. Dark tiles take up heat more readily. | Where heat is expected, joints are wide enough around each tile. | 5.2.2 |
| Dusty or loose base | The surface must be cleaned of dust and loose particles. Efflorescence and laitance are removed, preferably by dry brushing. | The base is brushed and clean before the bed goes on. | 6.1, 6.2 |
| Oil or grease on the base | Surfaces with oil, grease or water-repellent material that destroy the key must be treated specially. | The base is free of oil and grease. | 6.3 |
| Smooth dense base | Dense, smooth surfaces offer little key, so the bond is weaker. | The base is roughened or keyed where the code calls for it. | 5.5.1 |
| Coat too strong for a weak base | For moderately weak backgrounds, such as lightweight concrete, aerated concrete or low-strength brick, the floating coat should not be stronger than the background, because differential shrinkage can shear the background surface. | The coat is compatible with the base. | 5.5.3 |
| Hollow coat | A hollow sound shows the coat is not bonded to the wall. | The wall is tapped before tiling, and any hollow part is repaired first. | 8.2 |
How should the tiles be fixed?
These steps follow IS 4101 (Part 3):
- Check the base first. Before tiling starts, check that the floating coat has no hollow ring, which means it is not bonded to the wall behind. The coat should be completed at least one week before tile fixing begins, and free from visible moisture (clause 8.2).
- Clean the base. Remove dust and loose particles. Brush off efflorescence and laitance, preferably dry. Treat any oil or grease (clauses 6.1 to 6.3).
- Soak porous tiles. Porous tiles are immersed in clean water for at least half an hour before use (clause 9.1.1).
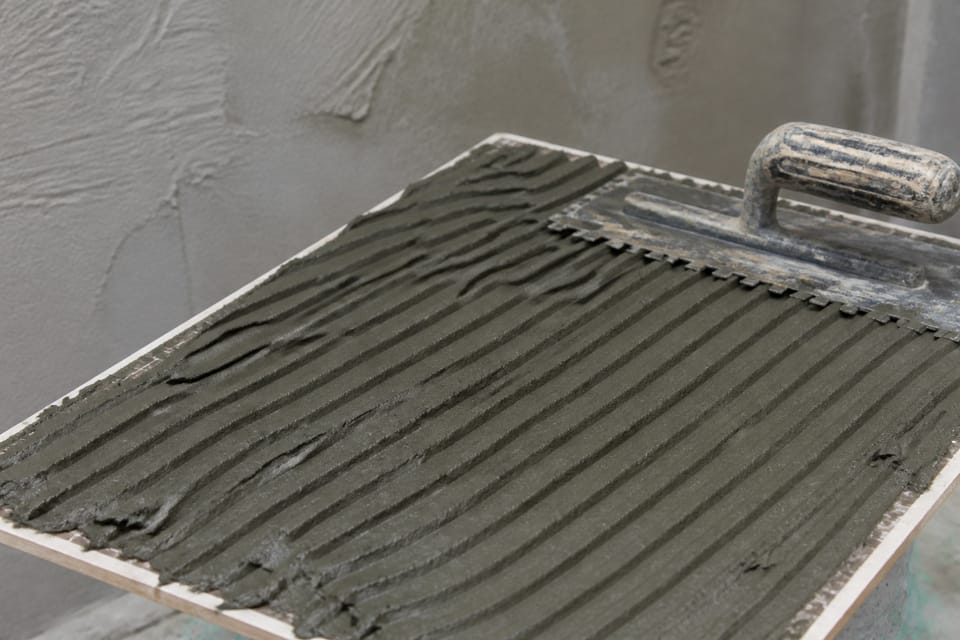
- Lay a thin, even bed. The bed behind the tiles should generally be 6 mm, and not more than 12 mm, thick (clause 9.3).
- Keep joints tight but open. The spaces between tiles should not exceed 2 mm (clause 9.3). Movement joints are at least 6 mm wide and go to the full depth of the tile and bed (clause 5.4.1).
- Wait before grouting. If time permits, do not grout or point the joints until the day after the tiles are fixed (clause 9.4.1). Grout joints so they are impermeable and without cracks (clause 5.2.3).
- Respect the damp-proof course. Do not carry tiles across the exposed edge of the damp-proof course at ground level without a break. This may let moisture past the damp-proof course (clause 5.3.3).
Clause 6.3.1 says that sufficient long-term experience of bonding agents is not yet available. Where one is used, the manufacturer’s instructions may be followed. This page does not recommend any adhesive or adhesive class.
Before the tiles, check the wall
Tiles are only as good as the plaster under them. Many of the checks above are about the wall, not the tiles:
- A wall that is damp will not hold tiles well. Find and fix the water source first. See damp walls: rising damp, seepage or condensation, and the fix.
- Cracks in the base coat show movement that the tiles will also feel. See hairline cracks in plaster: causes and what to do.
- The base coat is often plaster, so the steps for the plaster matter too. See how to plaster a wall: the steps from preparation to finish.
What mistakes should I avoid?
These are practice points, not code rules:
- Tiling over a wet or damp wall, or before the coat has cured.
- Using gypsum plaster or wall putty as the base for outside tiles. Gypsum plaster is for inside walls. See gypsum plaster vs cement plaster.
- Grouting the same day, so the joints do not set properly.
- Using a joint gap that is too small for the wall to move.
- Leaving out movement joints because the wall looks small.
- Tapping only the middle of the wall and not checking for hollow sounds along the edges and corners.
Frequently asked questions
Can I tile over an old painted outside wall?
Practice: the paint and any loose material have to be removed first, so that the tiles bond to the wall. The code asks that the existing covering is removed down to the brickwork or concrete, and that the base is clean (clause 6.1). Ask your engineer whether the wall is fit to tile.
How do I know if a tile is hollow?
Tap the tile and the wall behind it. A hollow sound means the bond is missing (clause 8.2 asks for the same check on the floating coat). Mark any hollow tiles and ask the mason to remove and re-fix them.
Does the code say which adhesive to use?
No. IS 4101 (Part 3) describes cement-sand bedding and says adhesives are not generally used in this country. Where a bonding agent is used, clause 6.3.1 says to follow the manufacturer’s instructions. This page does not recommend an adhesive.
Who should check the work?
Your engineer or an experienced mason should inspect the base, the bed and the joints before the wall is closed. The check on the hollow coat (clause 8.2) is the first test to ask for.
Related guides
- Damp walls: rising damp, seepage or condensation, and the fix
- Hairline cracks in plaster: causes and what to do
- How to plaster a wall: the steps from preparation to finish
This guide is general information. Read the disclaimer. Your engineer decides what is right for your wall and your site.
Sources
General information only. It is not a structural design or professional advice. Ask a licensed structural engineer or architect to check your plans and site.