
Short answer
What are the steps for painting the inside of a new house? Paint only when the plaster is set, cured and dry. Clean and dust the walls, fill the cracks and holes, put on the putty and sand it, then prime and apply the paint coats, sanding lightly between coats. The Indian painting code gives no fixed number of days. It asks for dryness, and the engineer or painter decides when the wall is ready.
On this page (11)
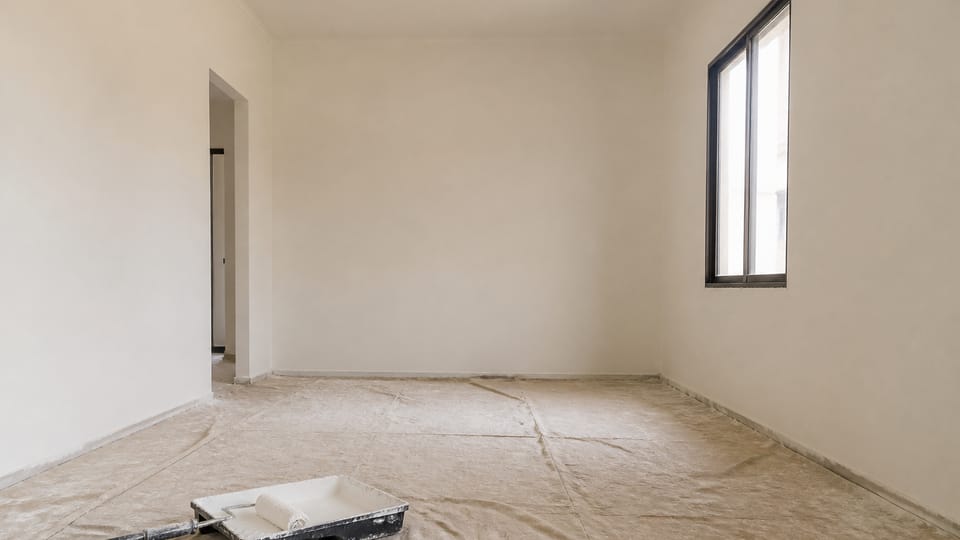
A good paint job on the inside of a house depends on what happens before the paint. The wall must be dry, clean and even. The paint must go on in the right order. This guide sets out the steps in that order, with what the Indian painting code (IS 2395) and the CPWD specifications say about each one, and what to check. It names no brand and gives no coverage or price. Those come from the paint and the painter, and the engineer or painter decides when a wall is ready.
Is the wall ready?
IS 2395 says that painting may start “When the surface has properly set and cured and when all excess moisture has dried out from it and from the backing” (clause 5.2.2). It gives no number of days. The test is the dryness of the wall, not the calendar.
The CPWD specification says the same in its own words: “The surface shall ordinarily not be painted until it has dried completely” (clause 13.24.2.3). If the wall cannot be given time to dry, the code allows only a porous finish, and says “Gloss paint shall not be used until drying is complete” (clause 5.2.3). The code also says that “When painting new walls, any type of paint system which will seal in the moisture shall be avoided” (clause 5.2).
Step 1: Clean and dust the wall
Remove loose material and dust before anything else. CPWD asks that “The surface shall be thoroughly cleaned and dusted off. All rust, dirt, scales, smoke splashes, mortar droppings and grease shall be thoroughly removed before painting is started” (clause 13.23.3).
Step 2: Fill the cracks and holes
Fill the cracks and holes before the primer goes on. CPWD says that “Before primer is applied, holes and undulations, shall be filled up with plaster of paris and rubbed smooth” (clause 13.24.2.3). For emulsion paint, CPWD says that “no oil base putties shall be used in filling cracks, holes etc.” (clause 13.31.2.3(b)).
Major cracks in plaster should be cut out in a V shape and made good before painting (IS 2395, clause 7.1.2), and the repairs allowed to dry thoroughly before painting (clause 7.2 for cement and concrete surfaces). Our guide to hairline cracks in plaster explains how to tell a crack that needs more than filling.
Step 3: Putty and sand
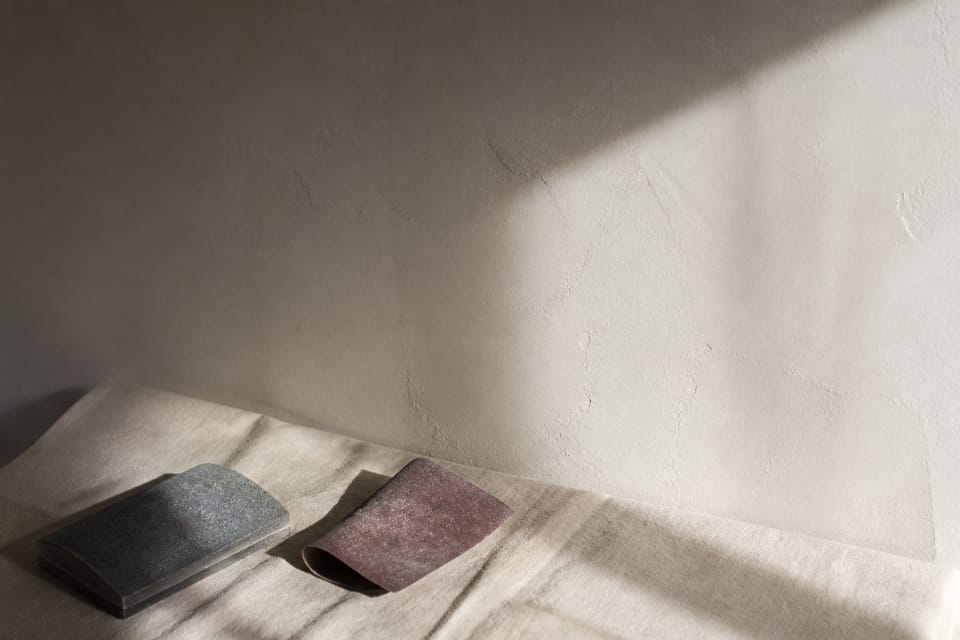
Any unevenness is made good with putty, and then sanded. For new work, CPWD’s item on oil-bound washable distemper (clause 13.19) describes the putty as “made of plaster of paris mixed with water on the entire surface including filling up the undulations and then sand papering the same after it is dry” (clause 13.19.2.1). The same clause says the surface “shall then be allowed to dry for at least 48 hours” before the work goes on. That is a minimum before sanding, not a test that the wall is dry for paint. The specification names plaster-of-paris putty. For the modern wall putty products, see wall putty vs POP vs white cement and wall putty coverage, coats and cracks.
Step 4: Prime
The primer must suit the paint. IS 2395 says that where solvent-based paints are used, “an alkali resistant priming paint” is selected to suit the porosity of the surface (clause 5.2.2). For emulsion, the code says the surface may be treated with “A coat of the same paint thinned with water or sealers recommended by the manufacturer” (clause 5.4.1 table). The code’s table applies only where suction is high or variable. Follow the primer maker’s instructions for your paint.
Step 5: The paint coats
The number of coats is set in the item or the contract. CPWD says “The number of coats shall be as stipulated in the item” and “If necessary more coats will be applied till the surface presents a uniform appearance” (clause 13.31.2.2). The surface on finishing “shall present a flat velvety smooth finish” (clause 13.31.2.2).
Between coats, the surface must dry. CPWD says “The time of drying varies from one hour on absorbent surfaces to 2 to 3 hours on non-absorbent surfaces” (clause 13.31.2.2). Lightly rub each coat, except the last, with sandpaper or fine pumice, and clean off the dust before the next coat (clause 13.23.4.4).
For emulsion, CPWD says that “The thinning of emulsion is to be done with water and not with turpentine” (clause 13.31.2.2).
What should I check?
This section is practice, not a code rule.
- The wall is dry. Use a moisture meter if you have one, or the engineer’s test. Look for damp patches, which show that water is still coming through.
- The walls are free of salt. White salt on the surface shows water is moving through the wall. IS 2395 says that “Sealing coats may not effectively hold back strong efflorescence” (Annex C). Find and stop the cause first.
- The finish looks even under light. Look at the wall from an angle, with light falling across it. Fresh putty, patches and missed sanding show up.
- The primer and the paint are made for each other. Ask the painter for the product data sheet.
- The plaster was cured. Our plaster curing guide explains the curing that comes before paint.
What mistakes should I avoid?
This section is practice.
- Painting a wall that is still damp because the schedule says so. Wait for the wall to be dry.
- Sealing a new wall with a film that traps the moisture behind it.
- Using oil-based putty under emulsion, which the CPWD text does not allow for cracks and holes.
- Skipping the sanding between coats, so that brush marks and dust stay in the finish.
- Thinning emulsion with turpentine, which CPWD (clause 13.31.2.2) rules out. IS 2395 (clause 5.4.1) allows water or the manufacturer’s sealers.
- Painting in the rain or in damp weather before the walls are dry.
Frequently asked questions
How many days should I wait before painting?
IS 2395 gives no fixed number of days. It asks that the surface be set, cured and dry. Ask your painter to test the wall, and wait until it is dry.
How many coats do I need?
The CPWD specification says the number is set in the item or the contract, and that more coats are applied until the surface is uniform. Ask the painter for the number in your quote.
Can I paint over salt or a damp patch?
No. The damp or the salt must be dealt with first, because a coat of paint will not stop it.
Related guides
- Painting exterior walls: preparation, primer and coats
- Plaster curing: how long and how
- Damp walls: rising damp, seepage or condensation, and the fix
- How painting area is measured: IS 1200 door, window and grill factors
This guide is general information. Read the disclaimer. Your painter and engineer decide the method and the number of coats for your house.
Sources
- IS 2395 (Part 1):1994, Painting of concrete, masonry and plaster surfaces: operations and workmanship (first revision). Clauses 5.2, 5.2.2, 5.2.3, 5.4.1, 7.1.2, 7.2 and Annex C read from page images. BIS status as reported by the BIS lookup: valid to 2029-09-30.
- CPWD Specifications 2009, Volume 2, sub-head 13.0 Finishing (painting and distemper items), clauses 13.19.2.1, 13.23.3, 13.23.4.4, 13.24.2.3 and 13.31.2.2, read from the text layer of a third-party copy of the official volume.
Change log
- : Added Related guides link to newly published article(s): how-painting-area-is-measured-for-doors-windows-and-grills-is-1200-part-15-coefficients. No other text changed. Approved by the reviewing engineer.
General information only. It is not a structural design or professional advice. Ask a licensed structural engineer or architect to check your plans and site.